Find's Treasure Forums

Welcome to Find's Treasure Forums, Guests!

You are viewing this forums as a guest which limits you to read only status.

Only registered members may post stories, questions, classifieds, reply to other posts, contact other members using built in messaging and use many other features found on these forums.

Why not register and join us today? It's free! (We don't share your email addresses with anyone.) We keep email addresses of our users to protect them and others from bad people posting things they shouldn't.

Click here to register!


Need Support Help?

Cannot log in?, click here to have new password emailed to you

Changed email? Forgot to update your account with new email address? Need assistance with something else?, click here to go to Find's Support Form and fill out the form.

Faulty DD coil and steps to repair!

dmnz

Member
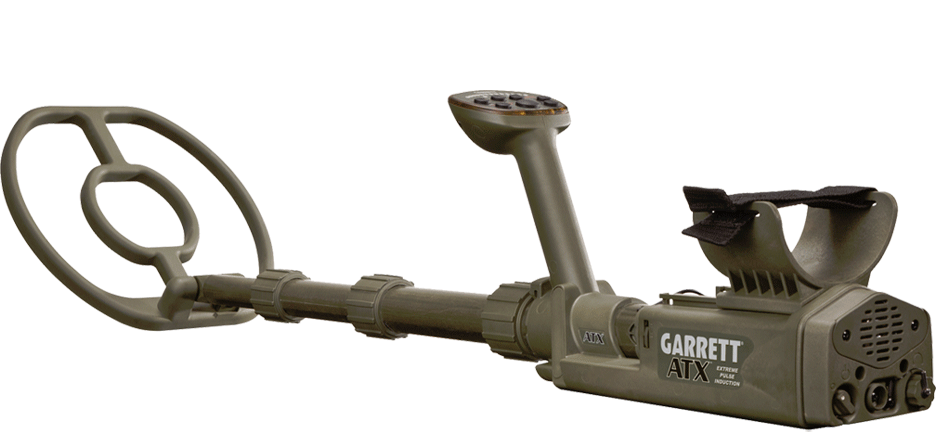
Hi guys - love the ATX as you all know and Garrett have been awesome with the warranty. My machine however is now approaching the warranty end - and, after two
Years of use the stock DD coil gave up the ghost.....

It was falsing,erratic and unusable!

Anyway - rather than tossing the coil, thought I would investigate the fault.

1st up - removed and checked the coil connector (not as easy job as it is glued on) - this area was eliminated.

Step 2: drilled out the lower coil shaft and removed

Step 3: source of the issue found = broken cable insulation at the pivot point

Step 4: removed coil cable

Step 5: "borrowed" a bread board from the kitchen

Step 6: epoxy and a minelab excal shaft.....

More photos to come!
 
Will take photos of the finished product soon - need of course to test the coil and rewire! More info
To come!

However - as a sign it works, went to a local beach for a trial.... Needless to say the trial was successful!!! 18ct and diamonds ;)
 
Your about as compulsive about repairing a coil as I was. It is great when your efforts show proof of your ability to fix-it!

One question on the Epoxy. What brand/type did you use. Also the bread board looks like polypropylene and most epoxy I have used tends to have less than desirable holding power to it. Were the "ears" also from the bread board? Nice job, I hope it last as long as my WOT repair did - about 4,000 hours in the water. I hated to replace it, but I had a new one sitting in the basement for 8 years. Just waiting for my repair to give up the ghost.

Now with the small diameter shaft you could hip mount the ATX box. What a plus!

May the ring of gold be in your ears and its glitter in your scoop!
 
hmm - cant remember the brand of epoxy - but it seems to have set pretty damn hard overnight - the breadboard was also not a perfectly flat surface - more to grip on? yes - the ears also from the bread board! should be easy enough to remove and re-do if required. I made the coil cable "longer" so I can backpack or chest mount the DM-ATX.

For testing purposes, chucked in in a backpack and hit the beach and just waded knee deep to test the setup - the diamond ring was a massive BONUS!

Using a standard shaft (I think from the TDI) - absolute bliss (aside in the backpack hard to get to the controls - not that you need to often!).

Generally it seems I may have repaired the coil, just want to get it totally correct before sealing / glueing the cable connector (that is a pain as you need to drill it out). Coil connectors not easy to source. I do know how to re-use the existing ones, so they will have to do for now.....

Now with a central pivot point - the coil does not need constantly 'resetting' in angle!

I may look at making a standard shaft "adapter" so I can still hold the ATX as normal, but with the thinner, more streamlined shaft, but I must say, the backpack setup was pretty awesome!
 
Excellent workmanship, especially using the bread board very creative thinking outside the box.

Excellent!
Paul
 
Top