
Hello,
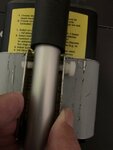
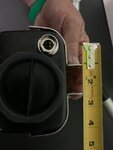
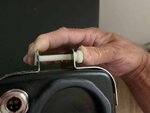
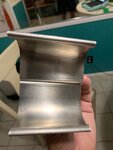
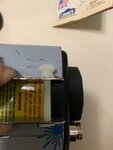
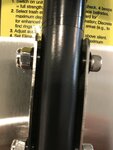
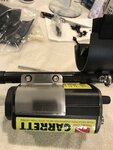
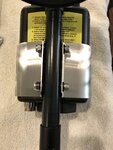
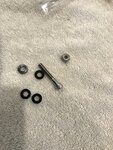
Recently purchased a Garrett Sea Hunter Mk II. When attempting to mount the head unit to the shaft I could not draw it in tight enough to use the nylon bolts/washers/nuts. I have the R & L sides correct. Iy is correctly slotted into the head unit where its supposed to go. Problem is when trying to draw the brackets together enough to insert the nylon bolt and nut, I can't draw them together enough to get more than a turn or two on the nut. It appear the curvature on the bracket does not fit the head unit correctly. Has anyone else experienced this?
Thanks
nonrev321